If you’re a developer or agency working with WordPress, you’ve probably felt the pain of slow websites, clunky control panels, and complicated deployment processes. Shared hosting and outdated control panels can hold back your projects, wasting time, frustrating clients, and limiting your ability to grow.
That’s why many teams are turning to VPS hosting. It gives you more speed, control, and flexibility to build and manage WordPress sites the way you want. If you’re comfortable with Linux and the command line, deploying WordPress via CLI is a smart, strategic move.
On the contrary, if you want a hassle-free and DevOps-friendly platform designed specifically for WordPress, you can try FlyWP. It simplifies VPS management without sacrificing developer control.
In this guide, you’ll learn how to deploy WordPress on a VPS using the command line – step by step. Then, we’ll show you when and why FlyWP might be the better long-term solution, especially when scaling client projects or streamlining your workflow is the goal.
Why Developers and Agencies Prefer VPS Hosting for WordPress
VPS hosting gives you the flexibility and control needed to build performance-first WordPress sites. Unlike shared hosting, where resources are limited and configurations are rigid, a VPS lets you fine-tune everything from PHP workers to database optimization, based on your project’s unique needs. For agencies and freelance developers, this means better uptime, faster page loads, and scalable infrastructure that can grow with clients. You’re not just hosting WordPress, you’re engineering its performance.
The Limitations of Traditional Control Panels and Shared Hosting
Control panels like cPanel or Plesk are familiar, but they’re built for convenience over control. They often add server bloat, restrict customization, and lack support for modern deployment workflows like Git or automated CI/CD.
Shared hosting makes things worse by cramming multiple websites on a single machine. This leads to inconsistent performance, poor security isolation, and limited ability to troubleshoot or scale. These are problems no serious WordPress developer wants to deal with. Moreover, deploying WordPress manually on a VPS gives you greater flexibility, security, and control over your site. That’s why many developers prefer VPS to shared hosting.
Benefits of Deploying WordPress on a VPS via CLI
Deploying WordPress on a VPS gives you full control over your server environment. This setup is ideal for developers, freelancers, and agencies who want better performance, security, and scalability compared to shared or managed hosting.
Total Control: With a VPS, you have root-level access to your server. This means you can configure every aspect of your tech stack, including web servers, caching, firewalls, and database settings, exactly the way you want.
Performance: Since your resources aren’t shared with other users, your WordPress site benefits from consistent CPU, RAM, and disk access. You can also implement advanced caching strategies that aren’t possible in shared environments.
Scalability: As your traffic or client base grows, you can scale your VPS by adding more resources or migrating to a larger instance. It’s a flexible solution that grows with your needs without requiring a complete migration.
Why Deploy WordPress via CLI?

Using the command line for WordPress deployments is the fastest and most consistent method available. It’s perfect for professionals who manage multiple sites or require version-controlled, automated workflows.
Speed Up Deployments: With CLI tools like WP-CLI, you can install WordPress, set up databases, and configure plugins or themes in a fraction of the time it takes with a graphical interface.
Consistency and Automation: Deploying via scripts ensures that each website follows the exact same configuration. This reduces human error and makes onboarding new projects more predictable and repeatable.
Agency-Ready Efficiency: For agencies and freelancers, CLI deployments save hours of repetitive tasks. You can build standardized workflows that let you launch new client projects with minimal setup time.
How to Deploy WordPress on a VPS with the Command Line
Before you begin, make sure your VPS is running Ubuntu (20.04 or 22.04), and you have root or sudo access. You’ll also need a domain pointed to your VPS IP.
Also read: How to Access WP CLI Through Server CLI.
1. Update Your Server
Start by updating your system packages. This ensures everything is current and avoids compatibility issues during installation.
sudo apt update && sudo apt upgrade -y2. Install a Web Server
WordPress needs a web server to serve its pages. You can use Apache (for LAMP) or Nginx (for LEMP). Pick one and follow the relevant instructions.
Option A: Apache (LAMP Stack)
Install Apache and enable it to run on startup.
sudo apt install apache2 -ysudo systemctl enable apache2sudo systemctl start apache2Option B: Nginx (LEMP Stack)
Nginx is a lightweight, high-performance web server alternative to Apache.
sudo apt install nginx -ysudo systemctl enable nginxsudo systemctl start nginx3. Install PHP and Extensions
PHP is the server-side scripting language used by WordPress. These extensions are necessary for full functionality.
sudo apt install php php-cli php-mysql php-curl php-gd php-xml php-mbstring php-zip php-fpm -y4. Install and Configure MariaDB
MariaDB is a drop-in replacement for MySQL. You’ll use it to create a database for your WordPress site.
sudo apt install mariadb-server mariadb-client -ysudo systemctl enable mariadbsudo systemctl start mariadbSecure your installation and set a root password:
sudo mysql_secure_installationThen create a new database and user for WordPress. Copy and paste the following code snippet.
sudo mysqlThen paste the following:
CREATE DATABASE wordpress DEFAULT CHARACTER SET utf8mb4 COLLATE utf8mb4_general_ci;CREATE USER 'wpuser'@'localhost' IDENTIFIED BY 'strongpassword';GRANT ALL PRIVILEGES ON wordpress.* TO 'wpuser'@'localhost';FLUSH PRIVILEGES;EXIT;5. Download and Configure WordPress
Now you’ll download the latest WordPress version and configure it using WP-CLI for speed and convenience.
Navigate to your server’s web root:
cd /var/www/htmlInstall WP-CLI if it’s not already:
curl -O https://raw.githubusercontent.com/wp-cli/builds/gh-pages/phar/wp-cli.pharchmod +x wp-cli.pharsudo mv wp-cli.phar /usr/local/bin/wpDownload WordPress core files:
sudo -u www-data wp core download --path=/var/www/html/wordpressConfigure database settings in wp-config.php:
sudo -u www-data wp config create \ --dbname=wordpress \ --dbuser=wpuser \ --dbpass=strongpassword \ --dbhost=localhost \ --path=/var/www/html/wordpressInstall WordPress with admin credentials:
sudo -u www-data wp core install \ --url="https://example.com" \ --title="My WordPress Site" \ --admin_user="admin" \ --admin_password="adminpassword" \ --path=/var/www/html/wordpress6. Set Proper Permissions
Correct file and directory permissions are critical for security and the smooth operation of your WordPress site.
sudo chown -R www-data:www-data /var/www/html/wordpresssudo find /var/www/html/wordpress -type d -exec chmod 755 {} \;sudo find /var/www/html/wordpress -type f -exec chmod 644 {} \;7. Configure the Web Server
Now you’ll configure either Apache or Nginx to serve your new WordPress site properly.
Apache
Create a virtual host file for your domain:
sudo nano /etc/apache2/sites-available/wordpress.confPaste the following configuration:
<VirtualHost *:80>    ServerName example.com    DocumentRoot /var/www/html/wordpress
    <Directory /var/www/html/wordpress>        AllowOverride All        Require all granted    </Directory>
    ErrorLog ${APACHE_LOG_DIR}/error.log    CustomLog ${APACHE_LOG_DIR}/access.log combined</VirtualHost>
Enable the site and rewrite module:
sudo a2ensite wordpresssudo a2enmod rewritesudo systemctl reload apache2Nginx
Create a server block configuration file:
sudo nano /etc/nginx/sites-available/wordpressPaste the config below (adjust PHP version if needed):
server {    listen 80;    server_name example.com;    root /var/www/html/wordpress;
    index index.php index.html index.htm;
    location / {        try_files $uri $uri/ /index.php?$args;    }
    location ~ \.php$ {        include snippets/fastcgi-php.conf;        fastcgi_pass unix:/run/php/php8.4-fpm.sock;    }
    location ~ /\.ht {        deny all;    }
    access_log /var/log/nginx/access.log;    error_log /var/log/nginx/error.log;}
Enable the site and reload Nginx:
sudo ln -s /etc/nginx/sites-available/wordpress /etc/nginx/sites-enabled/sudo nginx -tsudo systemctl reload nginx8. Optional: Firewall and File Edits
Enable the firewall to allow web and SSH traffic. You can also harden WordPress by disabling the file editor in the dashboard.
Allow traffic:
sudo ufw allow 'OpenSSH'sudo ufw allow 'Apache Full' # or 'Nginx Full'sudo ufw enableDisable the theme/plugin editor by editing to wp-config.php. Go to /var/www/html/wordpress/wp-config.php and add the following:
define('DISALLOW_FILE_EDIT', true);9. Optional: Add SSL with Certbot
To secure your site with HTTPS, use Certbot to install a free SSL certificate.
Apache:
sudo apt install certbot python3-certbot-apache -ysudo certbot --apacheNginx:
sudo apt install certbot python3-certbot-nginx -ysudo certbot --nginx10. Performance Optimization
Speed is everything in web development. Once your WordPress site is running, optimize it using caching, compression, and CDN to reduce server load and increase site speed.
Redis Object Caching
Redis helps cache database queriesin memory, reducing load times drastically on dynamic WordPress sites.
# Install Redis serversudo apt install redis-server -y
# Install PHP Redis extensionsudo apt install php-redis -y
# Restart PHP and web serversudo systemctl restart php8.4-fpm  # For Nginx# orsudo systemctl restart apache2     # For Apache
Install a Redis plugin like “Redis Object Cache” in WordPress and enable it.
# From inside WordPress root directorywp plugin install redis-cache --activatewp redis enableFastCGI Cache (Nginx only)
FastCGI caching stores full page content in memory, avoiding repeated PHP execution. Add this to your Nginx server block (above location /):
fastcgi_cache_path /etc/nginx/cache levels=1:2 keys_zone=WORDPRESS:100m inactive=60m;fastcgi_cache_key "$scheme$request_method$host$request_uri";fastcgi_cache_use_stale error timeout updating;Inside your location ~ \.php$ block:
fastcgi_cache WORDPRESS;add_header X-FastCGI-Cache $upstream_cache_status;CDN Integration
Use services like Cloudflare to serve static assets globally. This reduces load time for international visitors.
- Point your domain DNS to Cloudflare
- Set “Caching Level” to Standard or Aggressive
- Enable “Auto Minify” for HTML, CSS, JS
- Use “Brotli” for compression
11. Post-Deployment: Backups, Updates, and Monitoring
A live site needs maintenance. Automate backups, plugin updates, and performance monitoring using CLI and Cron jobs.
Cron Jobs
Schedule regular backups or updates.
# Open crontabcrontab -e
# Daily WP updates at 2AM0 2 * * * /usr/local/bin/wp plugin update --all --path=/var/www/html/wordpress >> /var/log/wp-updates.log
Logs
Monitor logs for errors:
- Apache:
/var/log/apache2/error.log - Nginx:
/var/log/nginx/error.log - PHP:
/var/log/php8.4-fpm.log
Maintenance Scripts
Example: backup DB and wp-content weekly.
#!/bin/bashDATE=$(date +%F)SITE_DIR="/var/www/html/wordpress"DB_NAME="wordpress"
# Backup DBmysqldump $DB_NAME > /home/backups/db-$DB_NAME-$DATE.sql
# Backup wp-contenttar -czf /home/backups/wp-content-$DATE.tar.gz $SITE_DIR/wp-content
12. Troubleshooting Common CLI Deployment Issues
Even seasoned pros hit snags. Here’s how to fix common issues during CLI deployments:
- “command not found: wp”
→ Ensure WP-CLI is globally installed at/usr/local/bin/wp. - Database errors (Error establishing DB connection)
→ Checkwp-config.phpfor credentials, verify withmysql -u wpuser -p. - Permission errors
→ Ensure ownership:
sudo chown -R www-data:www-data /var/www/html/wordpress - Nginx/Apache not serving WordPress
→ Check the virtual host or server block forDocumentRoot/rootpath. - SSL Issues
→ Usecertbot renew --dry-runto test before deploying certs.
You now have a clean, secure, and fast WordPress installation on a VPS. If you want to automate this in the future, you can consider using a tool like FlyWP to streamline deployments.
What Makes FlyWP Different: FlyWP vs DIY VPS Management
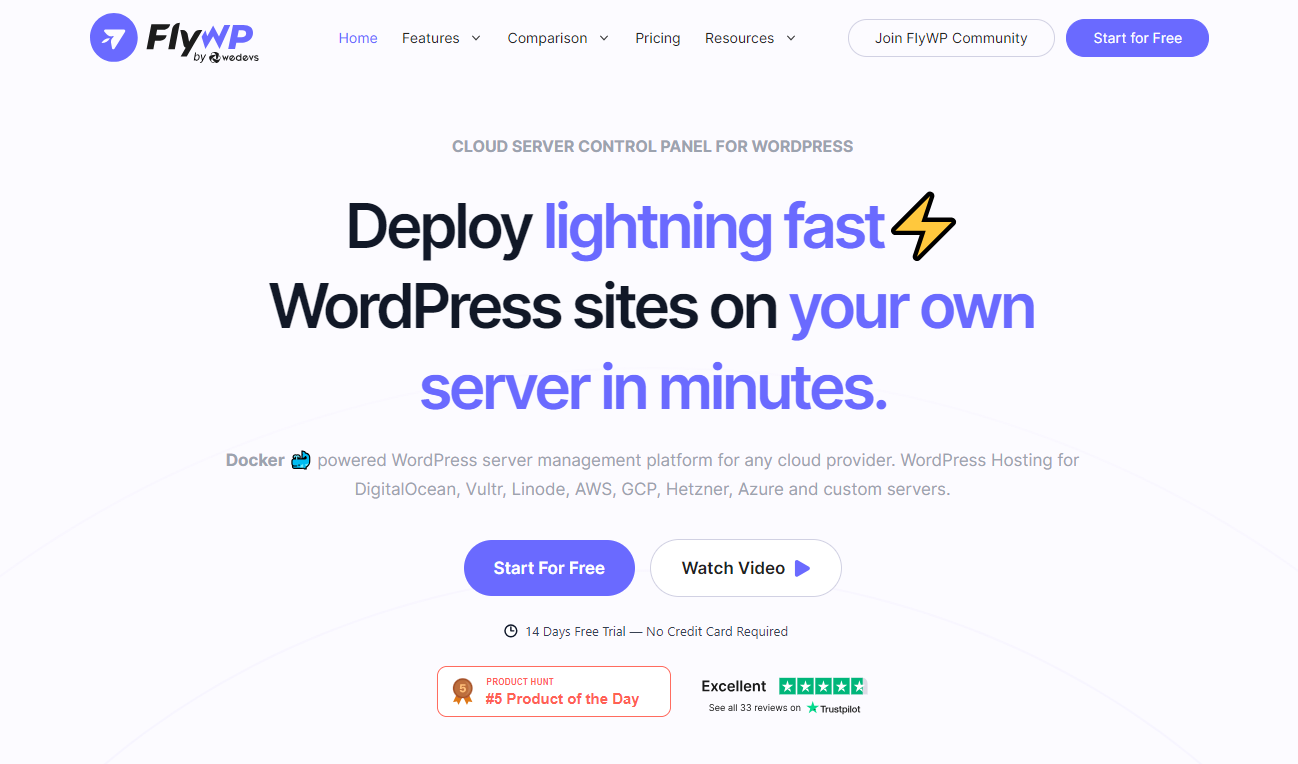
Managing a VPS manually gives you maximum control, but it also means handling system updates, server security, backups, and software configuration on your own. That’s time-consuming and error-prone, especially when you’re juggling client deadlines.
FlyWP automates all of that. It brings the power of DevOps to WordPress without the complexity. It minimizes the tedious parts of server setup – Nginx, PHP, MySQL, SSL, and caching. It gives you a clean, developer-friendly interface that’s optimized for speed, security, and scalability. Built-in monitoring, backup scheduling, and powerful features like one-click staging environments and GitHub-based deployments help developers save time and minimize risks.
Know more about FlyWP featuresWhen you’re hosting multiple WordPress sites on the same VPS, isolation becomes a critical but often overlooked factor. In most DIY server setups, if one site gets hacked, others on the same server are vulnerable too. There’s no built-in containment, which can turn a single breach into a full-blown disaster.
FlyWP takes a different approach. Each site runs in its own Docker container, completely isolated from the others. That means every WordPress install has its own dedicated NGINX/FastCGI instance. This minimizes cross-contamination risks and improves overall security. It’s like giving each site its private server without the extra overhead.
It’s time to offload the sysadmin headache so you can focus on launching better websites faster and securely. If you’re serious about performance, automation, and scaling client work, FlyWP is the way forward.
Deploy Smarter, Scale Faster with FlyWP
Command line deployment gives you unmatched control, faster workflows, and serious performance gains – whether you’re launching a single site or managing dozens. It’s a clear step up from clunky control panels and slow shared hosting.
But let’s be real: even seasoned developers hit scaling walls. When late-night server issues or demanding clients start pulling you away from actual development work, it’s time to level up.
That’s where FlyWP comes in. It gives you the best of both worlds: the power and flexibility of VPS hosting, wrapped in a developer-first platform with auto-scaling, real-time monitoring, and expert support: no bloat, no guesswork.
So go ahead – deploy faster, automate smarter, and build with confidence. And when you’re ready to scale beyond the terminal, FlyWP is ready to carry the load.